How to Draw a Scarf in 6 Easy Steps · Craftwhack
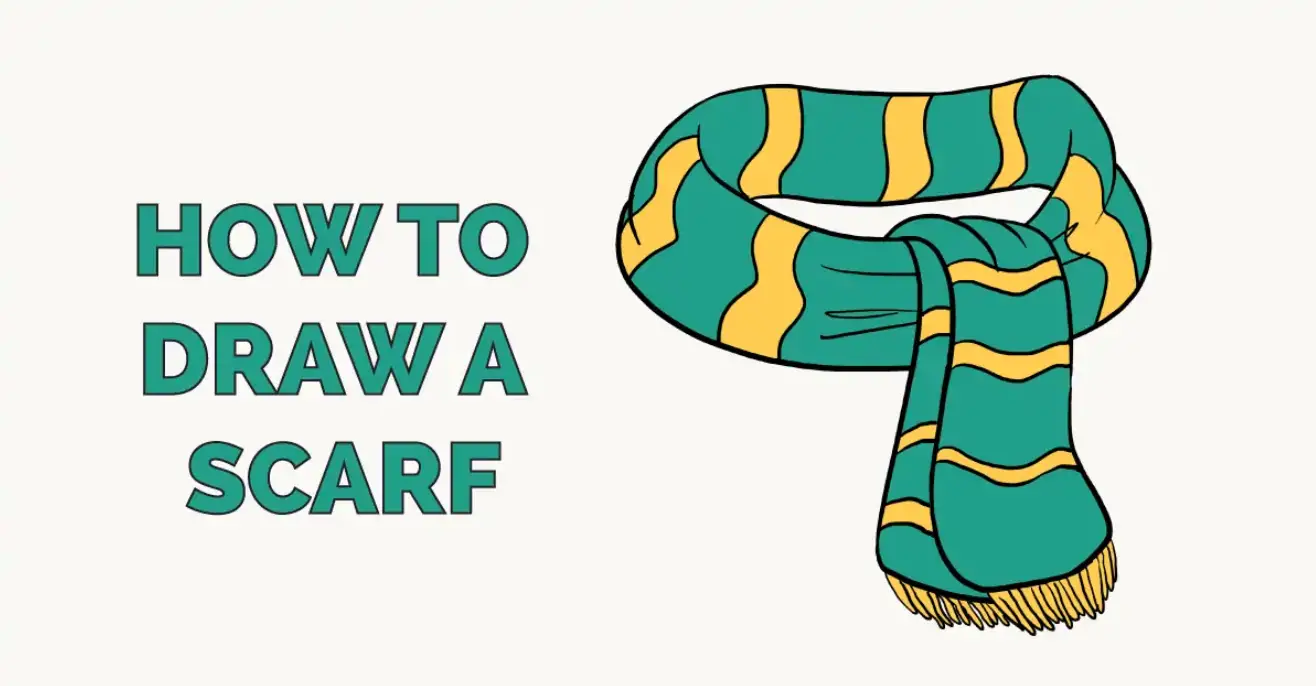 Source: https://easydrawingguides.com/how-to-draw-a-scarf/
You might recollect that cartoon a scarf is a straightforward thing to practise until you actually come to draw one. In fact, scarves can be really difficult to depict, which may requite y'all difficulty when it comes to art, especially in the winter.
Everyone loves to draw snowmen in scarves, and lots of popular cartoons and art include scarves for their characters. If you've ever wanted to improve your scarf drawing skills, we're at present going to show you how to describe a scarf.
Materials
Before getting started, gather upward:
- A sharp pencil
- Plainly white paper
- An eraser
- A black fineliner
- Colored pens or pencils
Let's get drawing! Brand sure you take a flat surface and a comfortable chair.
 Step 1: Draw A Large Bend
Sketch a curved line, with a long sweep on its lower edge and a tighter, shorter upright. This is going to form half of the outside of the scarf. You should always use loose, slightly wonky lines for your scarf in society to make it await natural; textile rarely forms hard lines. We'll call this Curve One.
Side by side, sketch a smaller curve on the inside of this line, post-obit roughly the aforementioned shape. This is the inside edge of the scarf, so it should follow approximately the aforementioned trajectory as your first line, staying the same width away from it for the whole bend. This is Curve 2.
Add a third, smaller bend between the two, joining them (this does non demand to be neat). This is the border of the scarf. Effort to get in overlap with Curve One a little, representing a fold in the fabric. This is Curve Three.
Step ii: Motility On To The Second One-half
On the other side, depict a shorter curve that meets or almost meets Curve Ane. This is the other side of the scarf. The meridian edge should be a petty straighter and come a bit college. This will be referred to as Curve 4.
Adjacent, describe a second curve, as y'all did earlier; this is again the inner curve of the scarf. It should exist nearly the same altitude from Curve Four every bit Curve Two is from Curve I, and though it doesn't need to impact Curve 2, it should look like a continuation of it. This is Bend Five.
Yous are at present going to add the outer border of the second one-half of the scarf. This should come up to a similar height as the elevation of Bend Three, and it should meet with Curve Four virtually two-thirds of the way down. This is Bend Six.
If you imagine a grapheme's neck (or sketch 1 lightly in pencil), it would exist between Curve Three and Curve Half dozen. Make any adjustments you need to.
It doesn't matter exactly how these lines cease up; these are just guides to assist you get a good amount of lines in approximate places to correspond a scarf.
Footstep iii: Join The Scarf Up
Y'all are now going to join the scarf at the back. If you drew a cervix representation in, you tin can now erase information technology.
Lightly draw a wavy line betwixt the tops of your ii highest curves (Curve Three and Bend Six). This should dip downward slightly, but will be more often than not flat, forming the back edge of the scarf. This would not exist visible if a person was inside your scarf, only every bit in that location isn't, it may help to sketch it.
Adjacent, describe a parallel line below. This should represent the width you want your scarf to exist. Information technology will likely come lower than Curves Two and Four, meeting them at an angle (but non at their tips). If necessary, lengthen these lines a bit.
This represents the way the fabric folds around at the back.
Footstep iv: Describe The Offset Hanging End
Scarves are usually depicted hanging down in forepart of a jacket. Put your pencil nigh the lesser point of Bend Five and draw a bend up over this line, so sweep down, curving in and so flaring out for the lesser of the scarf.
Draw another brusk bend up at the top, running roughly parallel to this, but stopping shorter. Draw some other, a little longer, post-obit the same sweep.
Finally, draw a long line on the aforementioned bend. This should connect Bend Ii and sweep down to Curve One, and and so curl around to meet the flare you merely drew. The bottom tin beget to be a petty squarer to represent the end of the scarf.
Step v: Draw The Second Hanging Stop
Draw a second version of this, under-lapping information technology and then that it appears to residual beneath the end of the scarf you lot have merely fatigued, only hangs down slightly lower. Y'all tin copy the aforementioned shape and angle; it should look approximately the same, though it doesn't take to be identical. This is the other cease of the tied scarf.
You can adjust the angle of the end if you lot want to, simply this isn't necessary if yous want to go along things simple. Show as much or as little of this second piece of cloth as you like.
 Pace 6: Add Some Ornamentation
Erase whatever lines you are unhappy with and sketch any new ones you want to add now that you have a rough scarf shape. Side by side, add whatever decoration you like – the scarf could take tassels, stripes, spots, etc.
If yous want to color, this is the best time to add information technology. Alternatively, utilise your fineliner to get a beautiful, smooth outline.
Retrieve to add folds to the fabric to show where it is bunched against wearing apparel. To represent creases, draw ane long line and then a couple of short ones. It'due south best to have just 1 moving ridge, rather than lots; this looks more realistic and satisfying.
Creases are most probable to appear at the front, where the weight of the scarf ends is pressing downward the material. If you are coloring your scarf, try to darken the creases a footling.
Conclusion
You should at present have a scarf sketch you tin can be proud of; this can be applied to pretty much any character you want to draw. Information technology will accommodate a snowman, Santa Claus, or anyone else. Remember to use fluid lines to represent the softness of the fabric, and make your scarf unique with its decoration.
Source: https://craftwhack.com/how-to-draw-a-scarf/
0 Response to "How to Draw a Scarf in 6 Easy Steps · Craftwhack"
Post a Comment